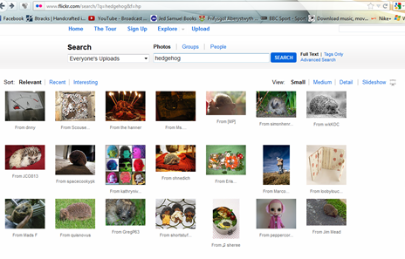
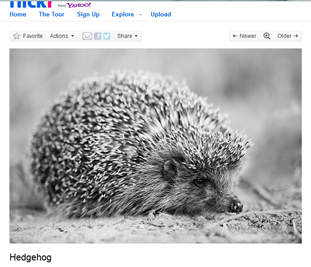
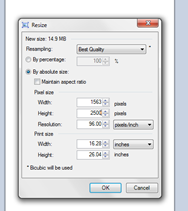
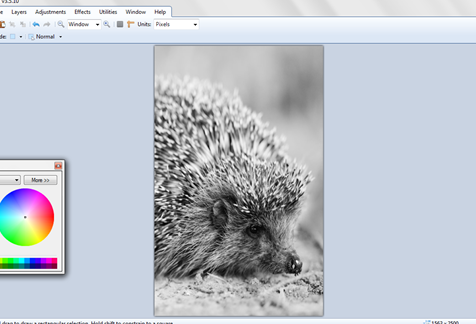
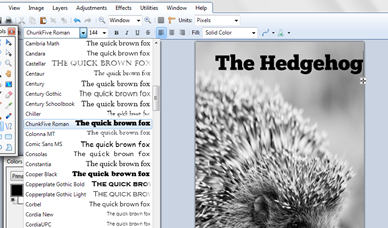
Step By Step Guide: Creating Your Own Book Cover 1. Plan your book cover 2. Find a picture 3. Use photo editing software Open up some photo-editing software, whatever preference the user has. One free recommendation we have is paint.NET Resize the image to be a suitable size for book covers. For the most professional and high quality look set the dimensions to 2500 pixels (height) by 1563 pixels (width). Or you can set the dimensions with a ratio of 1.6 (height) and 1 (width). Copy your chosen image into your software and resize it to fill the book cover without stretching and damaging your image. 4. Choose a font For the next stage, you must pick a suitable font and colour to make your work look professional. Some great book cover fonts which are available for free are listed here: Sometimes when creating cover art it is hard to get a professional look as the colours available using photo editing software is limited. If you use the website - Color Hunter, you can quickly find colour palettes which contain colours that compliment and work well with each other. You can also upload your own image and find a specific colour palette for your work. 5. Perfect your cover art Place your book title and name in your chosen font and perfect your book cover. 6. Have a professional book cover!  |
     |